|
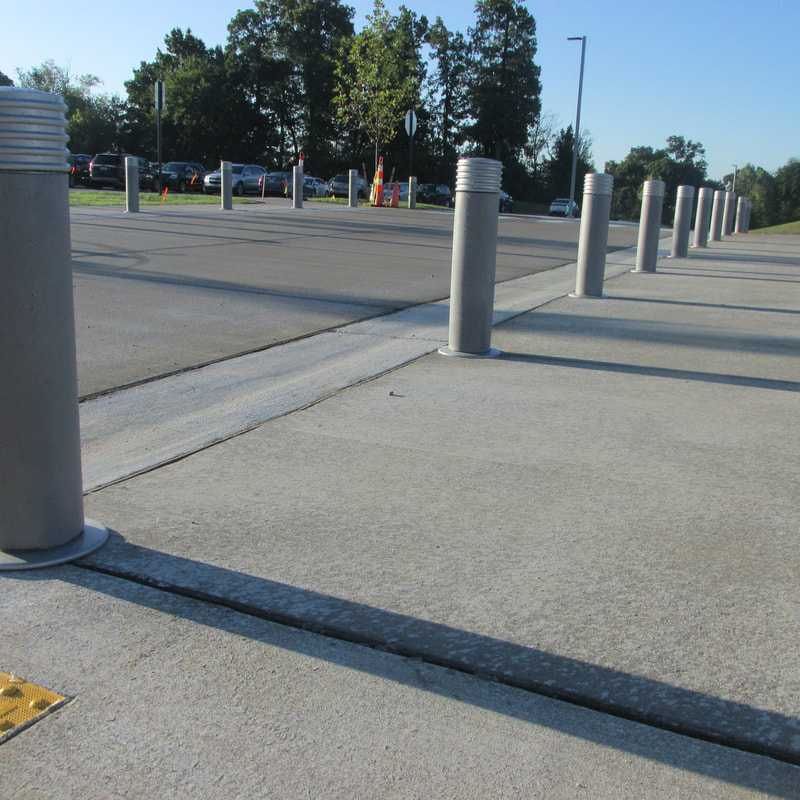
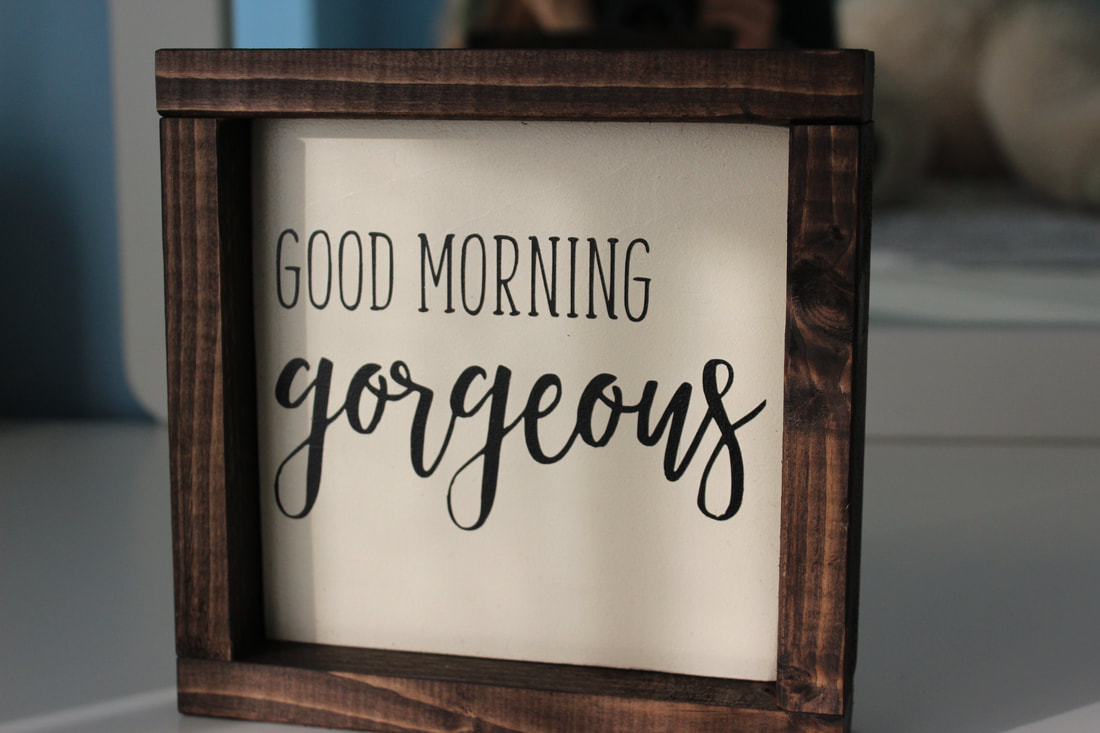
Throughout this class I have learned a lot about cameras and photography. Walking in I thought it would focused on how to set up and take pictures, but we really only did that in the first few weeks. There are so many components to a picture that I didn't even know existed. I learned how to use the camera and use shutter and aperture to take a high quality picture. In the beginning I struggled with using the shutter and aperture, but the more comfortable I got the more I wanted to use. I loved seeing the difference between the image with just changing one f stop. It's crazy how much those little tweaks can impact the picture. I also learned a lot about photoshop. I've always struggled using tools similar to photoshop on computers so that really challenged me. However, I learned so much working through those assignments. I actually really enjoy working on a project for a long time and seeing how it comes together at the end. In the beginning of the year I used simple tools like levels to expose my photos more, but towards the end I started to use more tools like clone stamp and a the eraser tool to clean up my images. These tools really helped me take my photos to the next level and it's crazy to look back and see how much I've grown. These are some of my pictures from the begining of the year. Here are some my projects from the last few weeks of the trimester. Overall I really enjoyed this class because it was such a great learning opportunity for skills I can use outside of school. I am excited to see how I use these skills in the future.
0 Comments
In this assignment we were asked to make visual puns in photoshop. These images were supposed to represent different puns for us to figure out.  Tough Cookie  Soap Opra  Laughing Gas I really enjoyed this assignment because it was fun to look them up and try to figure peoples out. It was also fun because there weren't step by step instructions you just got to do what you feel.
In this assignment I used photos that I had taken before, but didn't use and turned them black and white. 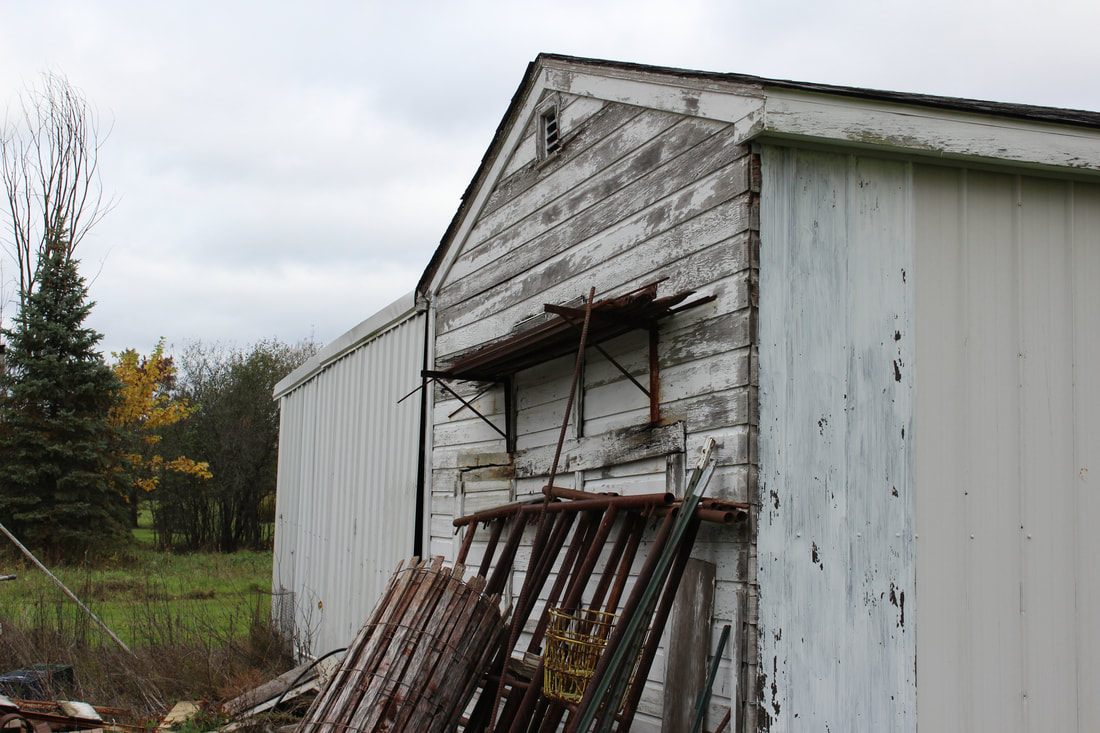 This is my photo before I turned it black and white 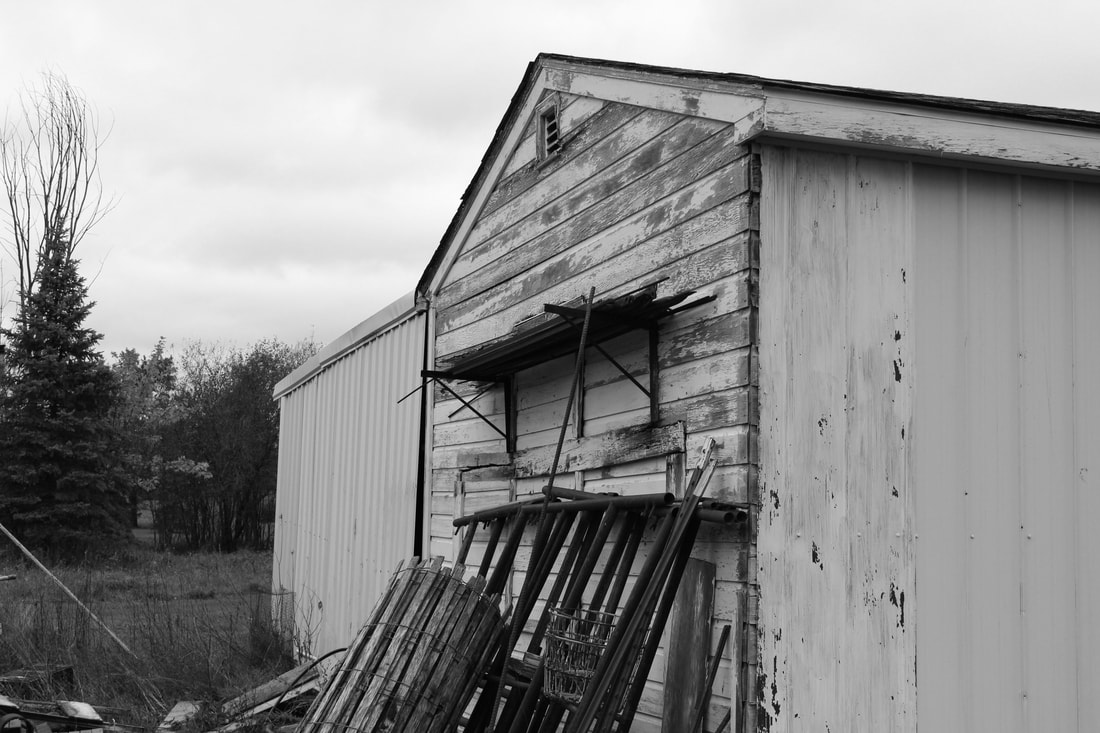 This is my black and white photo. ISO 400 1/800 f/5.6 In this assignment I learned how to change the photo black and white in Photoshop. I also learned what makes one black and white photo better than another and how to pick which pictures to use.
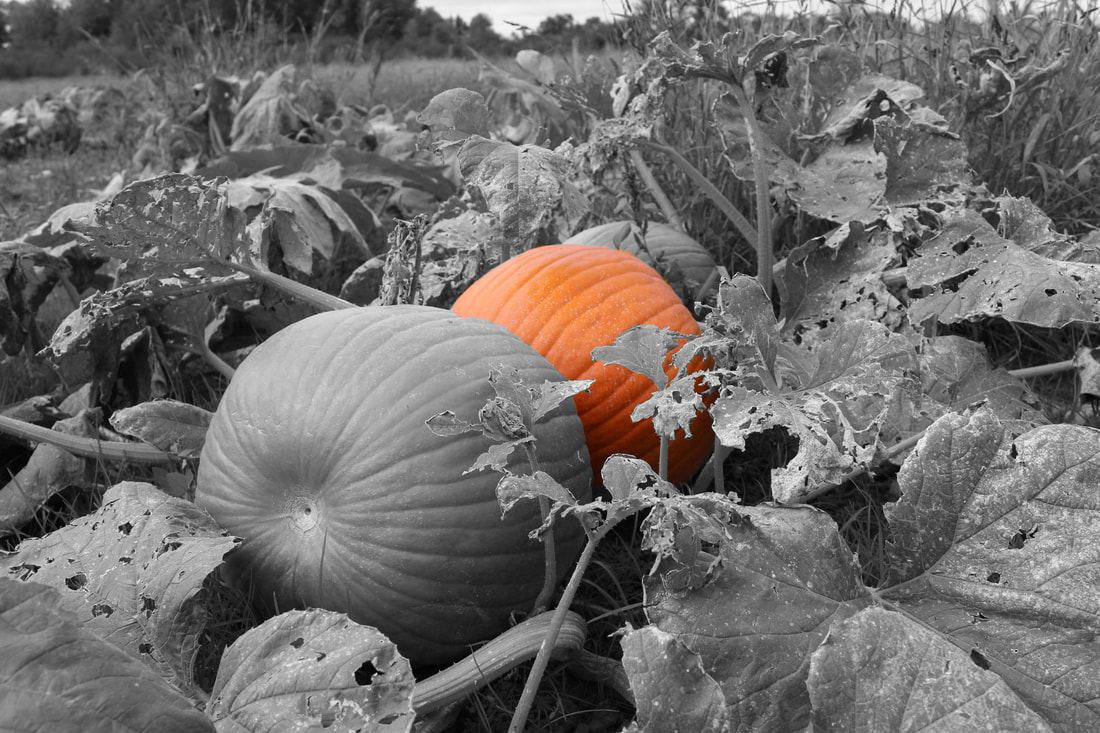
In this assignment we were asked to find any tutorial on a photoshop project and follow it step by step to recreate it. One assignment we had to do was called "a touch of color" and then I chose the project "mental sphere". 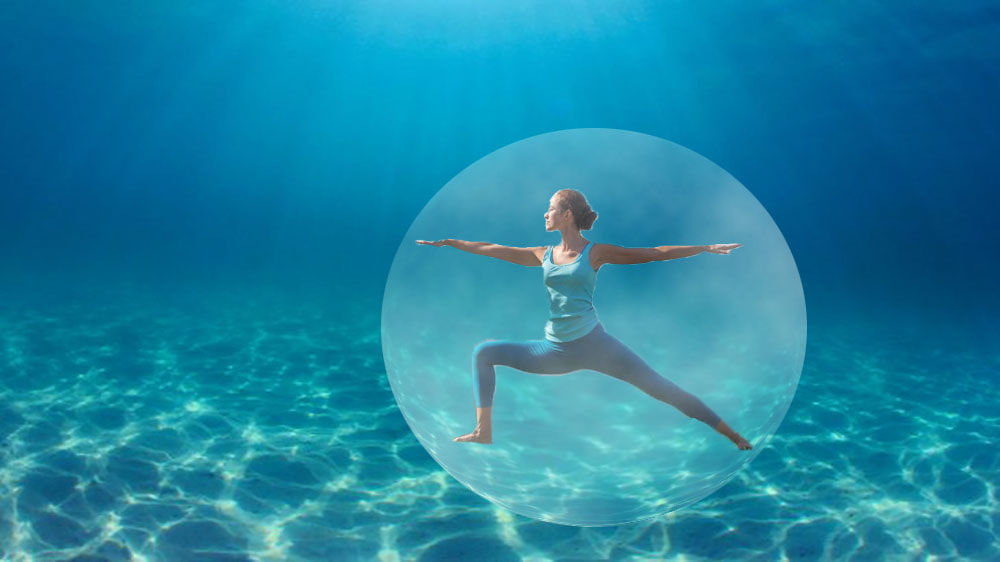 This is the project I chose to do called mental sphere. I took and image of the water and an image pf the girl doing yoga and created a sphere around her that makes her look enclosed. 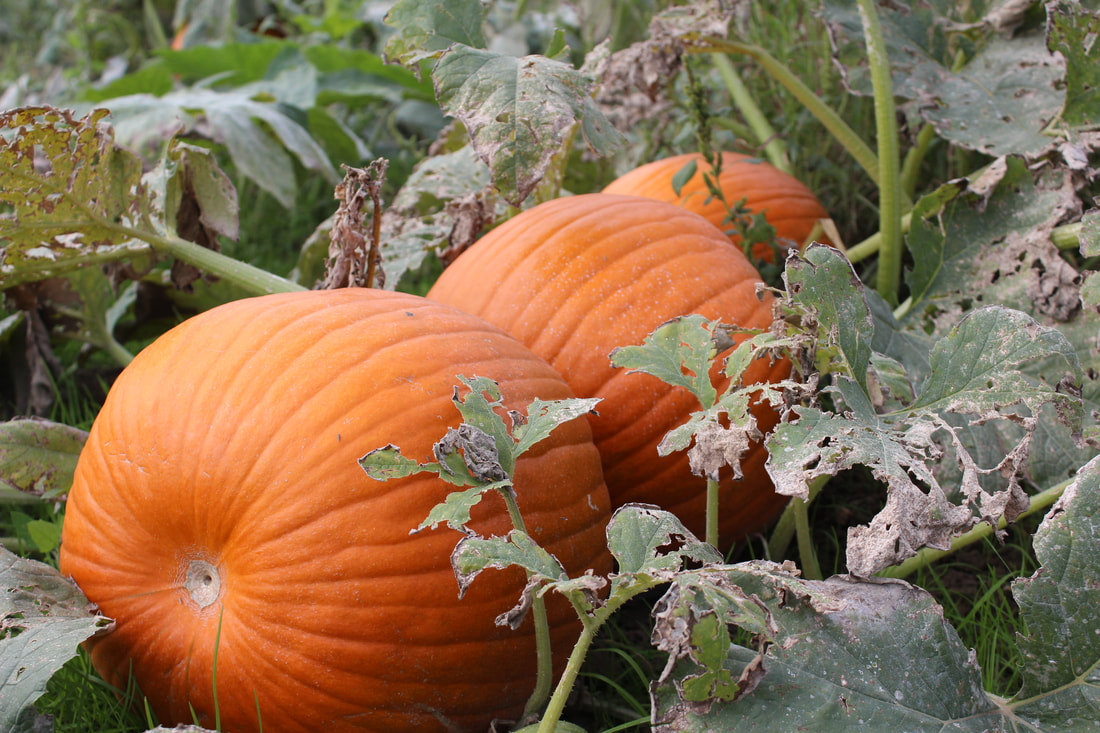 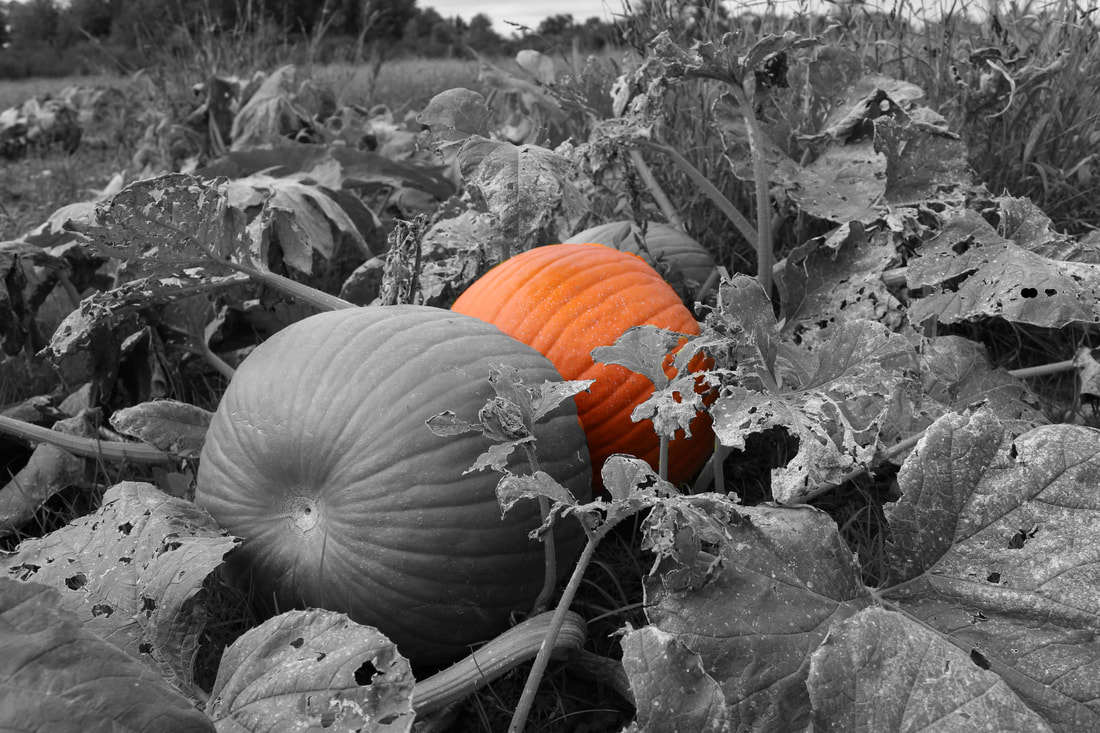 In the touch of color assignment we were asked to take a picture and make it black and white except for one part of the picture. Here is my before and after. In this assignment I learned a lot of new cool features of photoshop and I think that it was really beneficial for me because I struggle using photoshop so it gave me more practice.
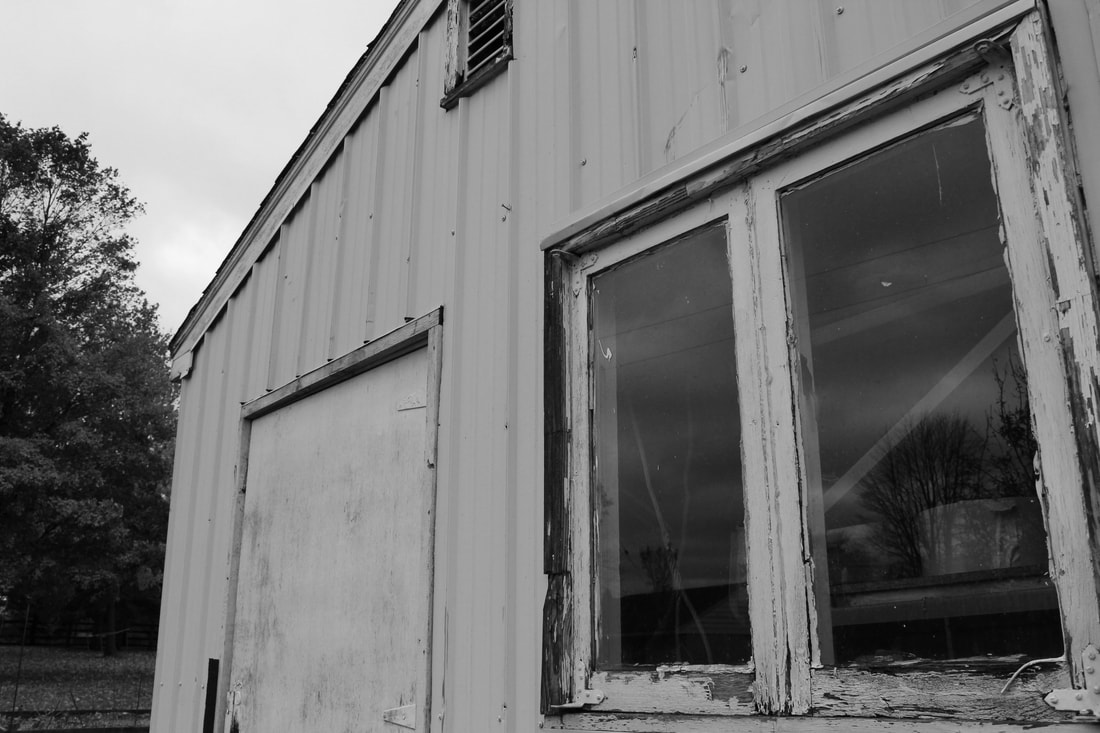
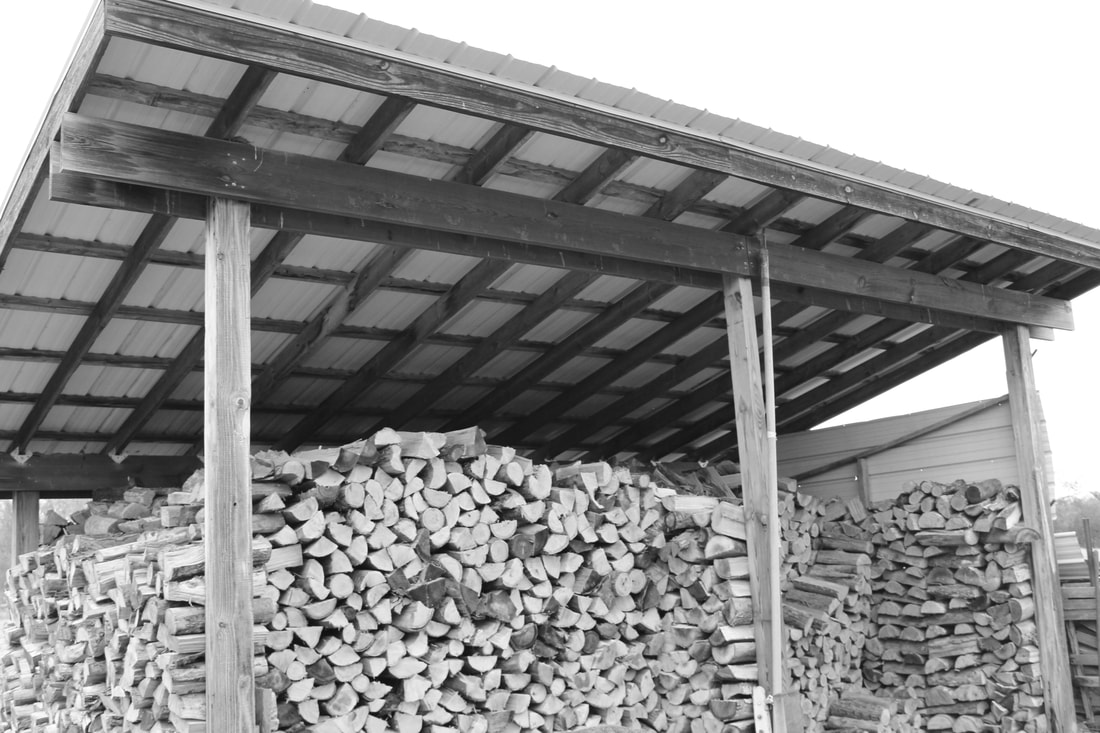
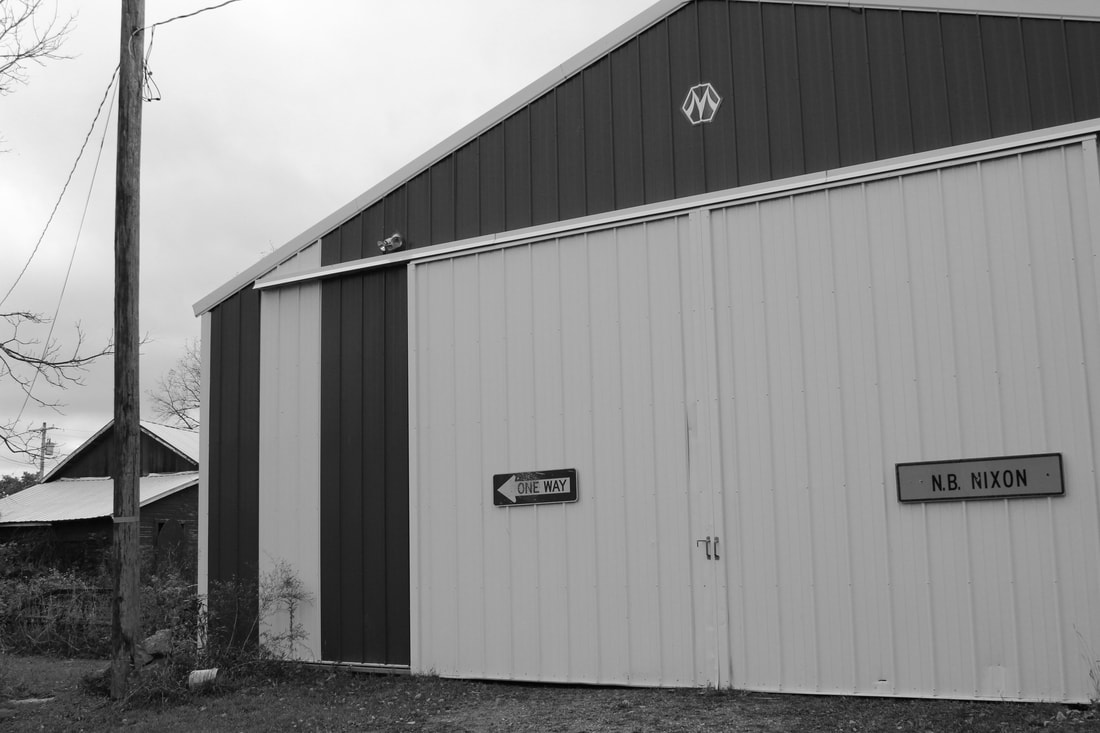
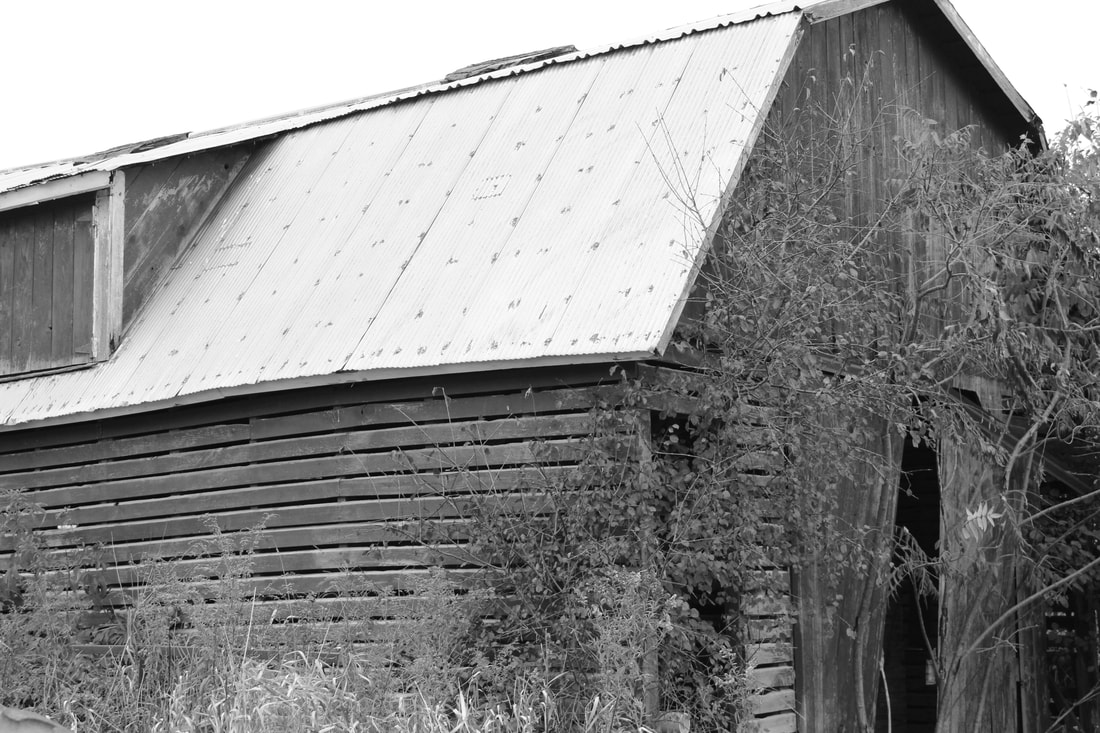
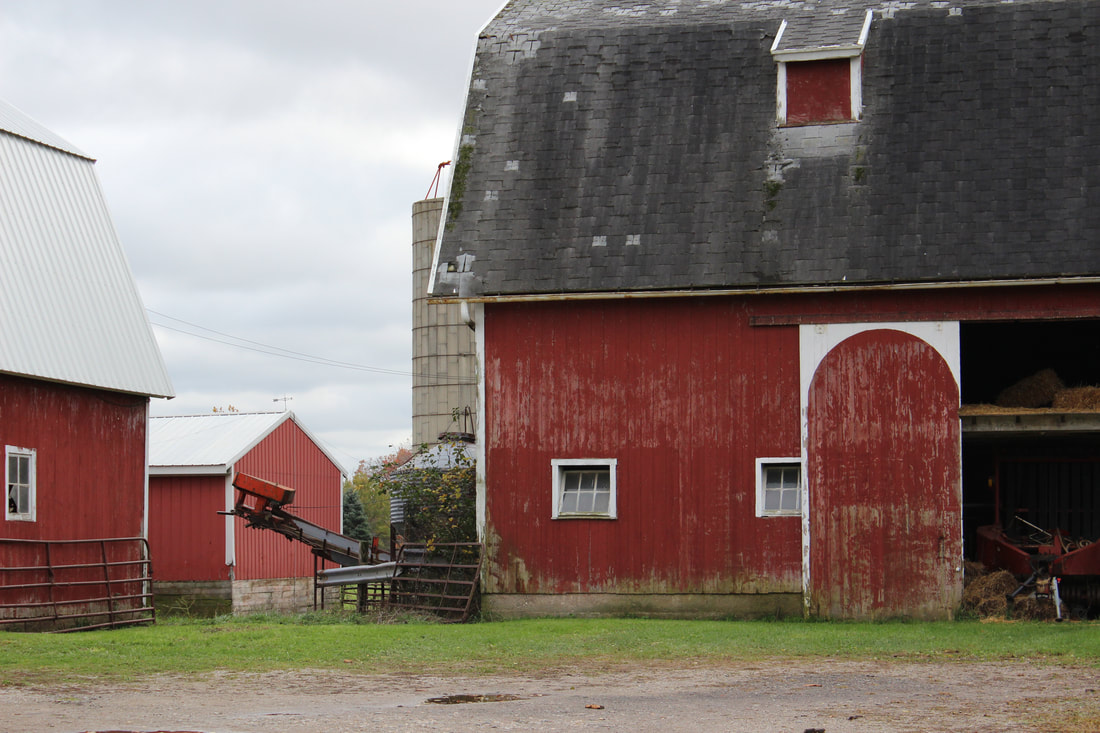
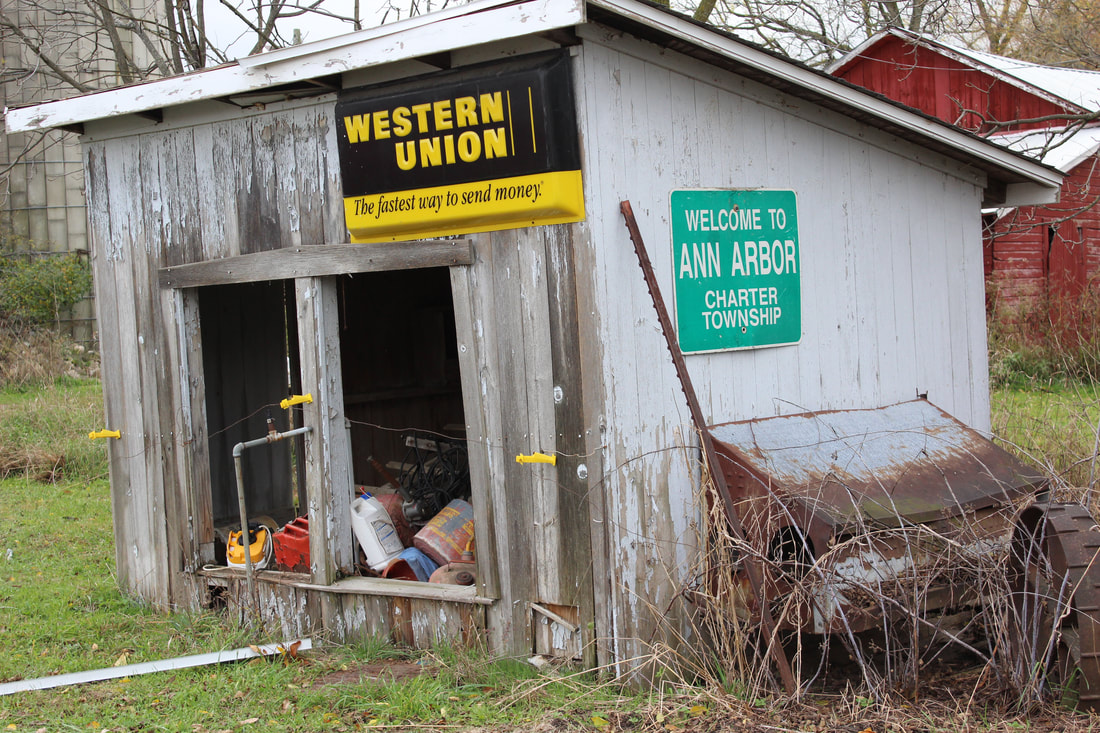
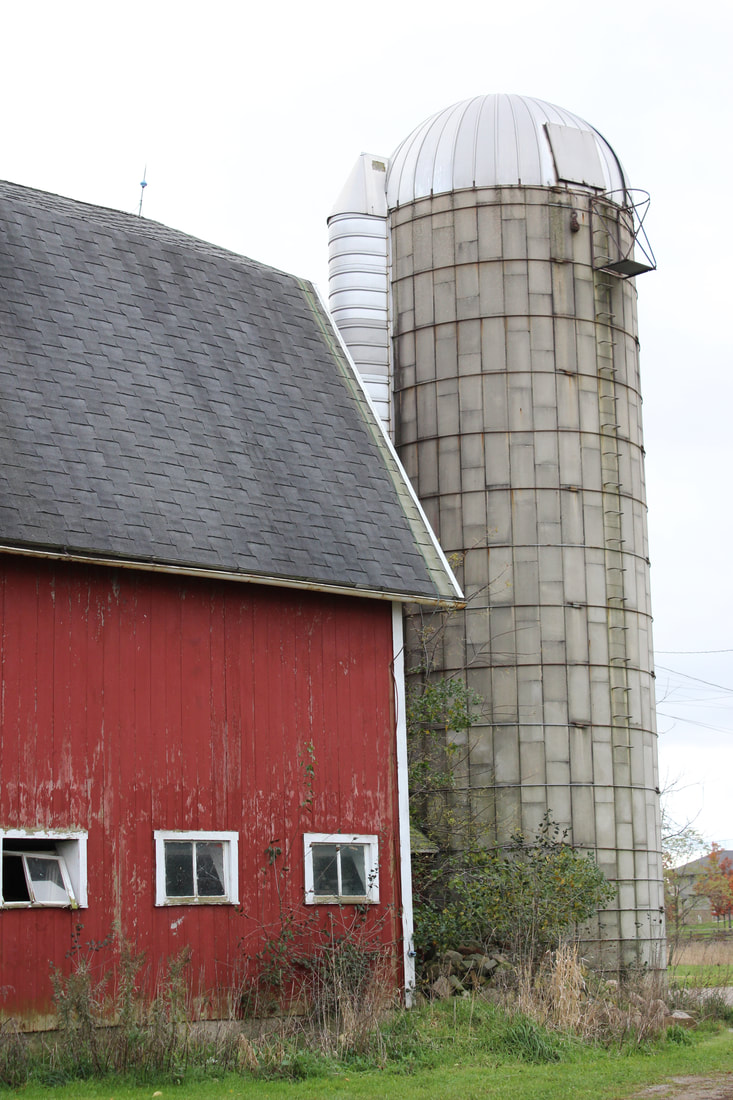
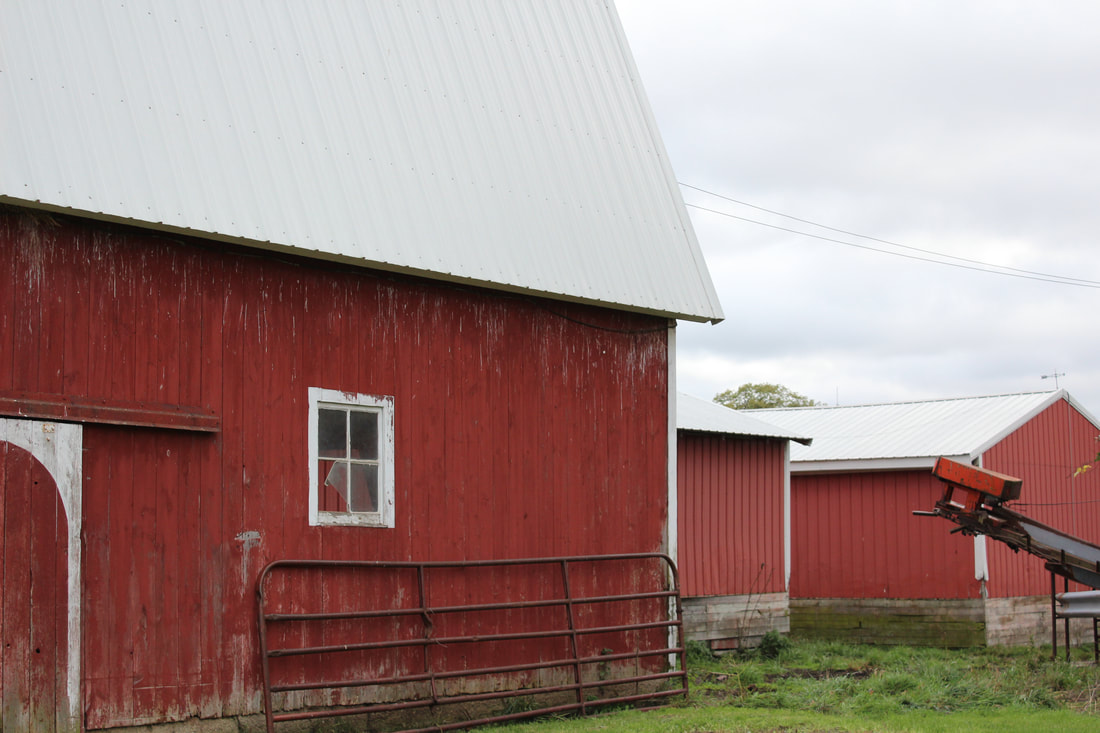
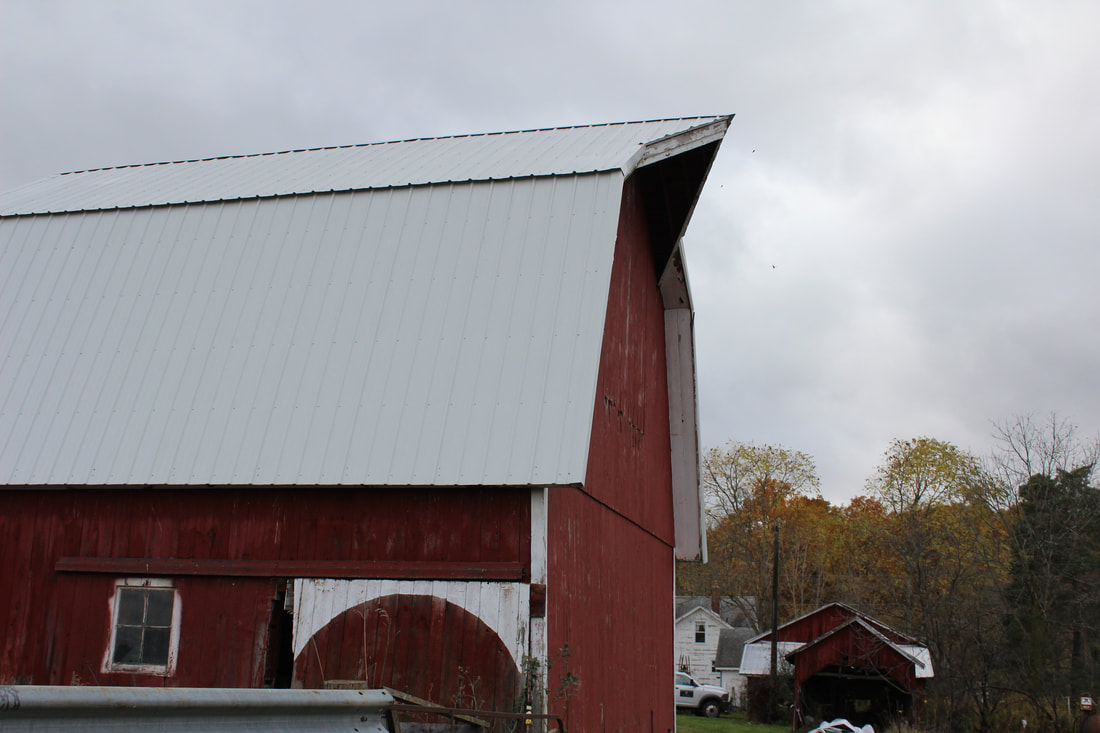
In this assignment I took pictures of different barns and silos I found on my friends farm. I focused on incorporating different types of architecture. 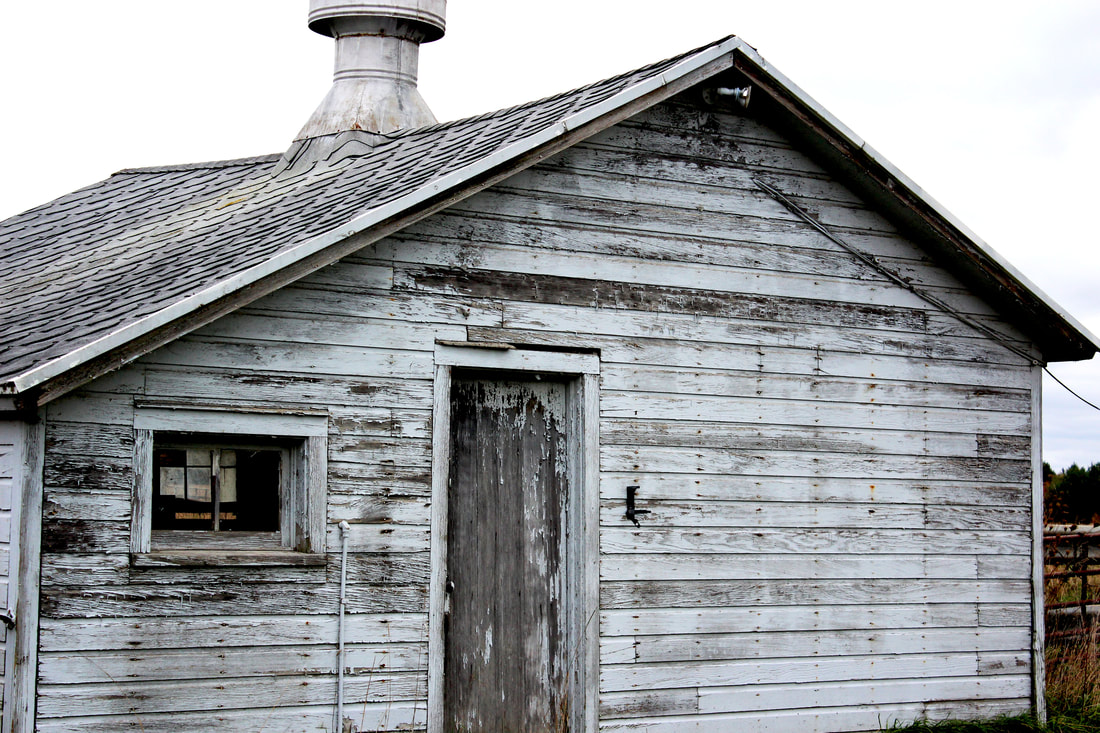 This is my edited photo. I just used levels to bring out the darker parts of the wood, and contrast to sharpen it. I also used exposure to lighten the photo. 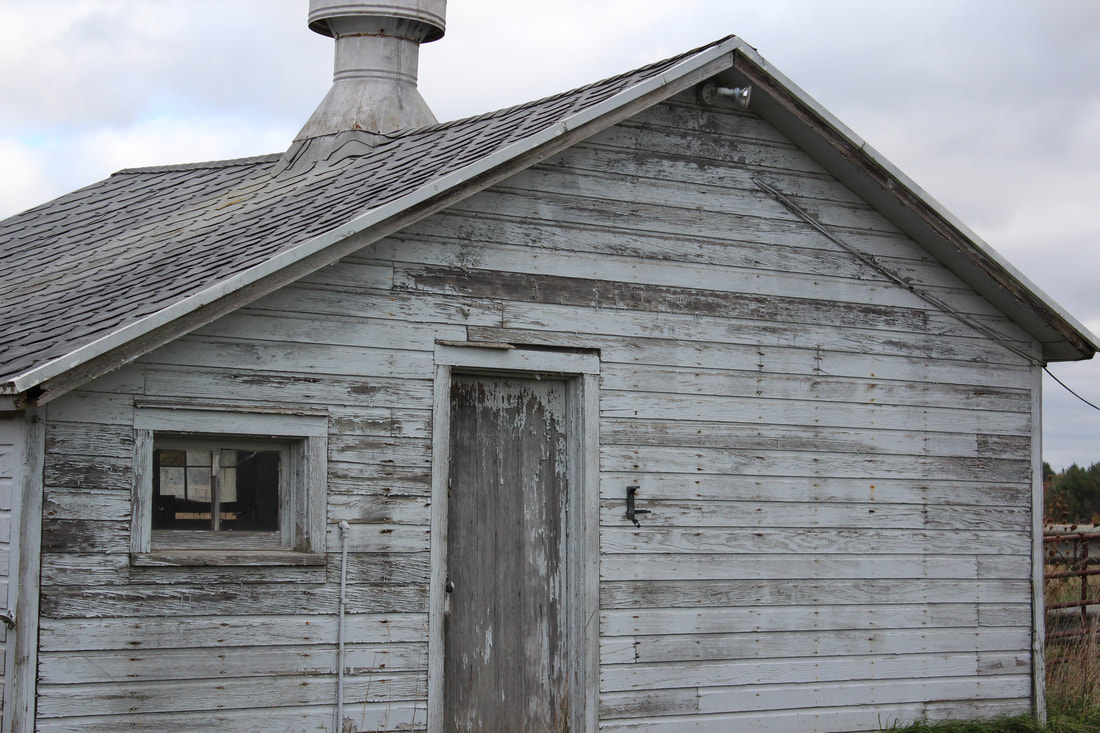 ISO: 400 f/5.6 1/250 In this assignment I really focused on perspective to give the angles of the buildings a different look. I really tried to focus on the intricate designs of the different barns.
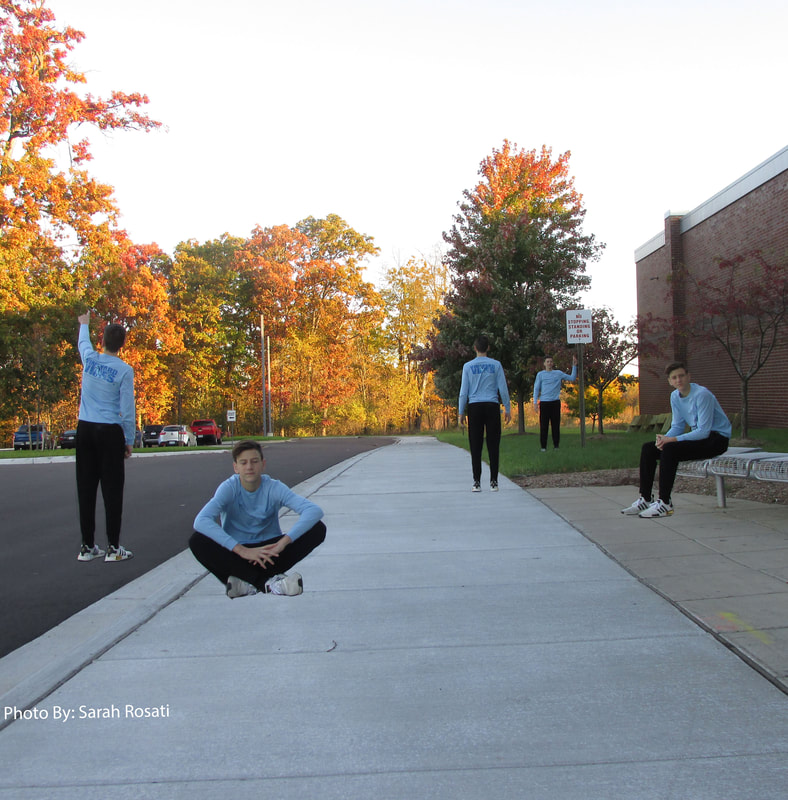
In this assignment we were asked to create an image with multiple of the same person in it. I took a picture of the background and then without moving my camera I had someone move in different directions and photoshopped each pose into the same picture. In this assignment I learned how to set up pictures so there wasn't too much overlap in the picture making it look edited. I enjoyed this assignment because i got to pay attention to the little details and see how the pictures come together.
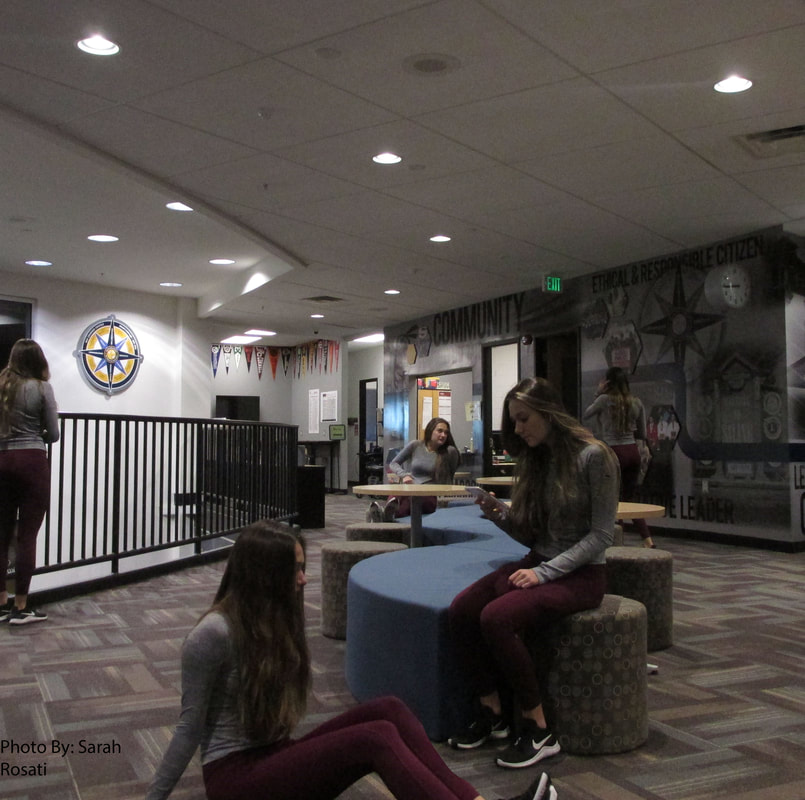
In this assignment we had to take a picture of the school and use multiple photoshop techniques to take the picture out of context. In my photo I added a lot of halloween themed things to make the school look kinda spooky. 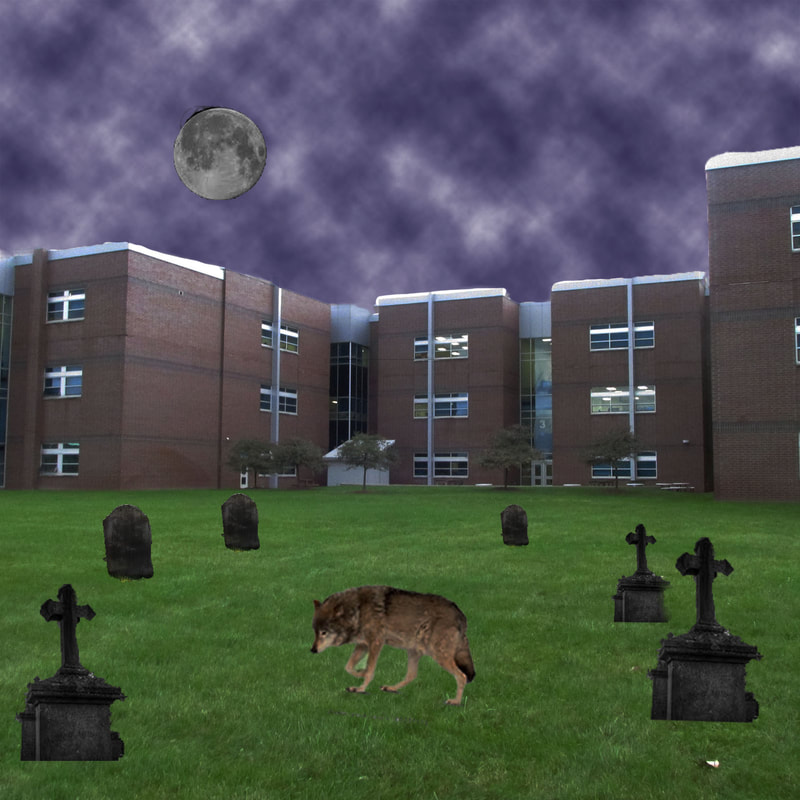 In this project I learned a lot of photoshop techniques. I really struggled with getting the small details to line up and make the photo look more real.
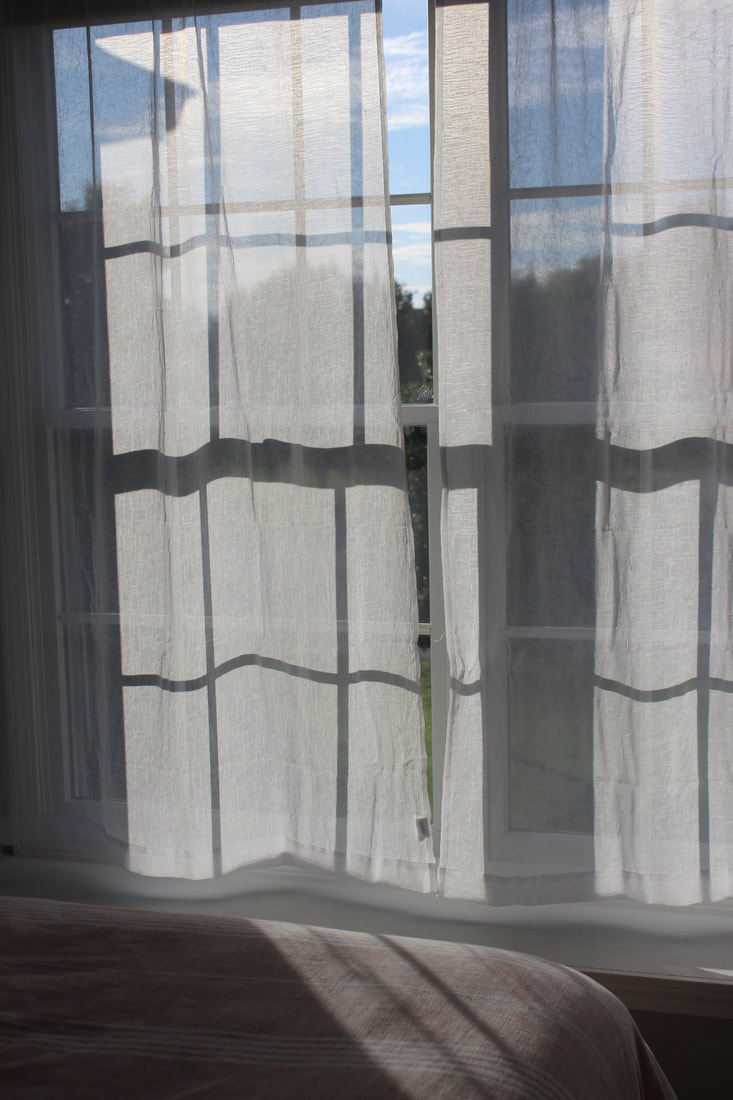
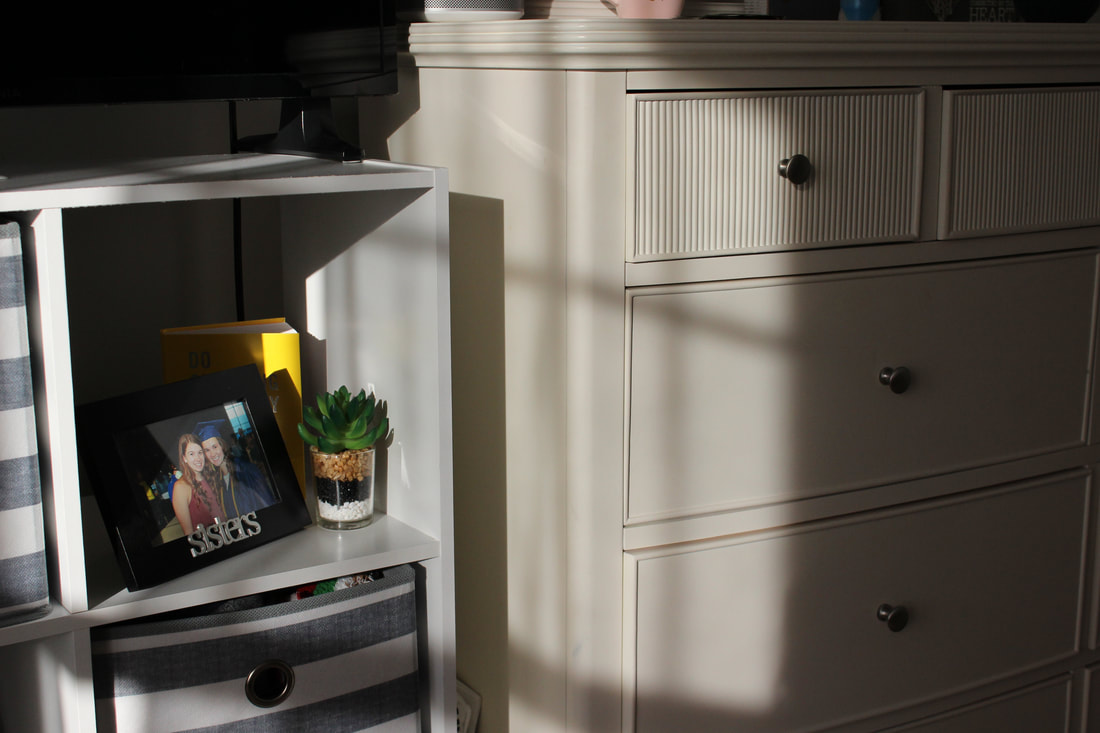
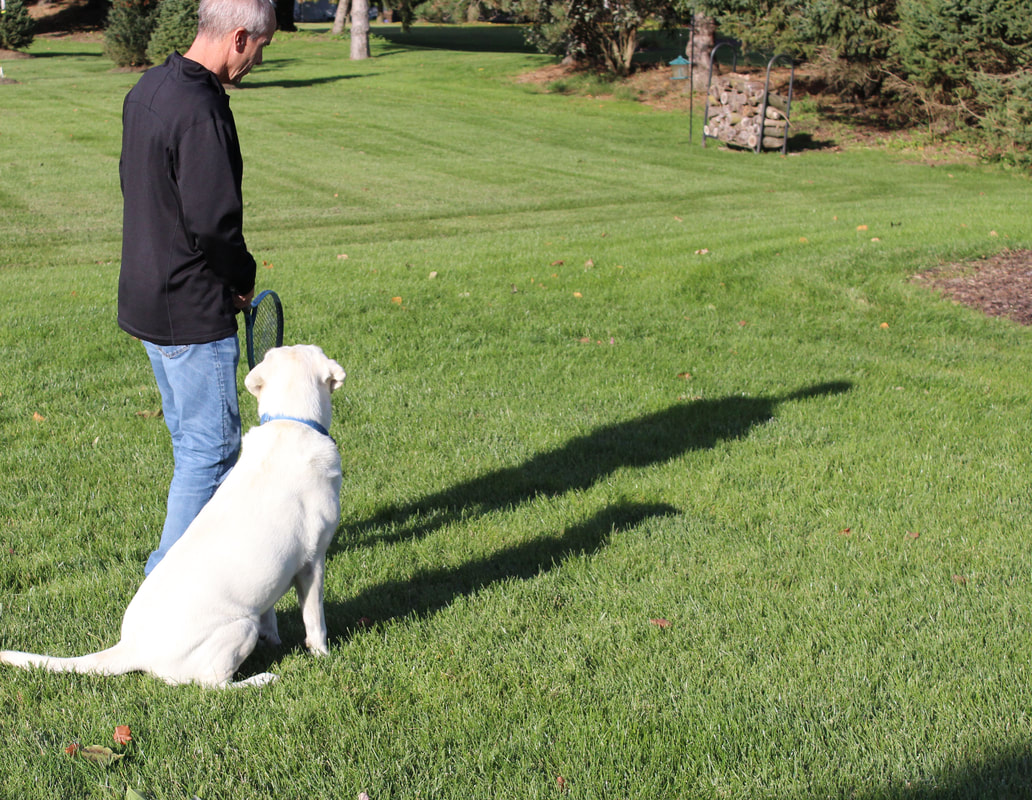
In this weeks photo assignment I took pictures of different shadows around my house and in my yard. The sun was perfect and I was able to capture it coming through the windows and hitting different objects. 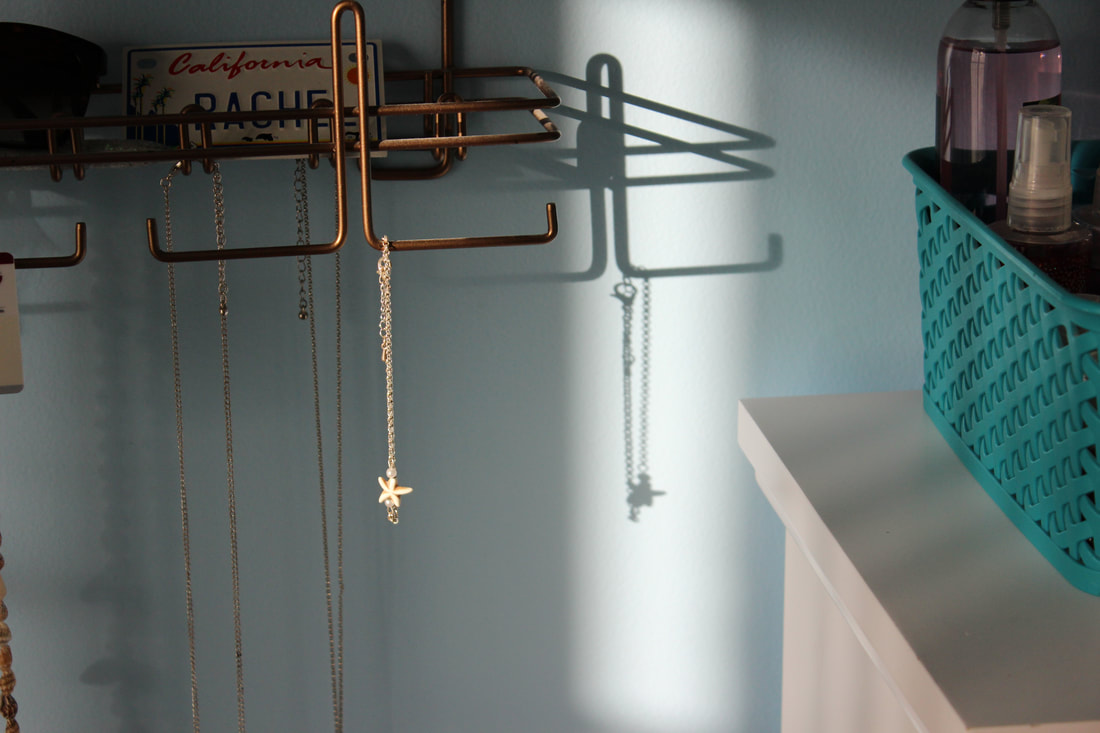 This is my original Image before I edited anything. ISO 400 f/5.6 1/500 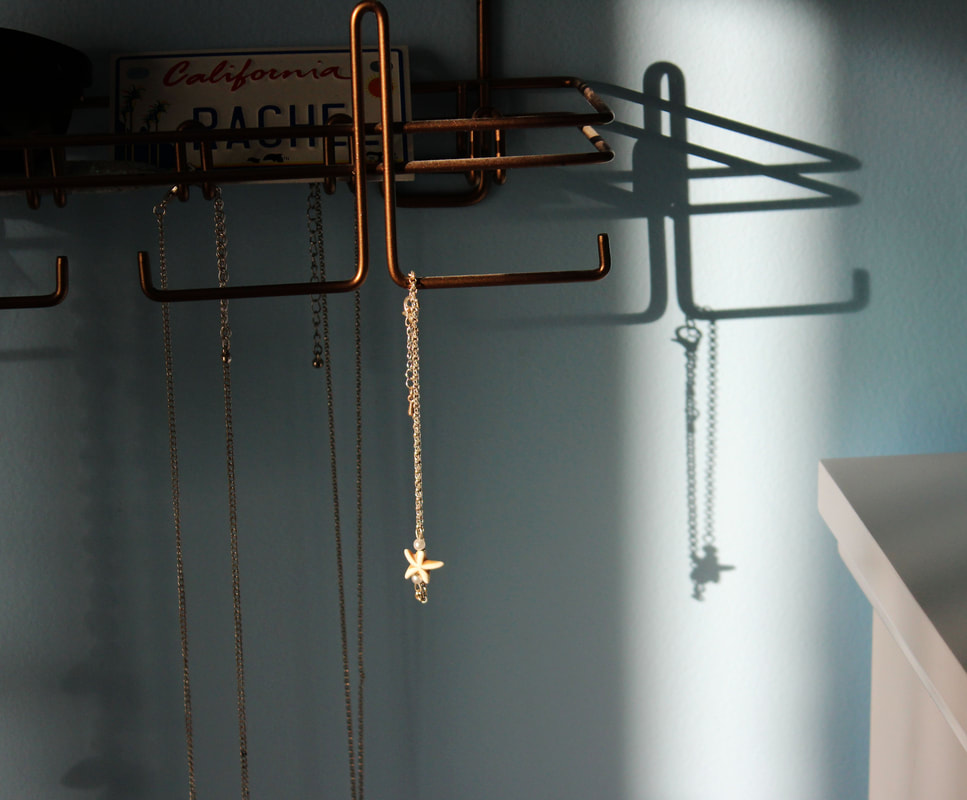 This is my picture after I edited it. I changed the levels to bring out the brightness of the sun hitting the necklace to create the shadow. I also brought the contrast up to create a darker background to really highlight the shadow created. I also cropped the image to really focus on the necklace. In this assignment I really focused on changing my perspective to capture the best part of the shadow. I had to move all around to get different angles to really bring out the shadows of my objects.
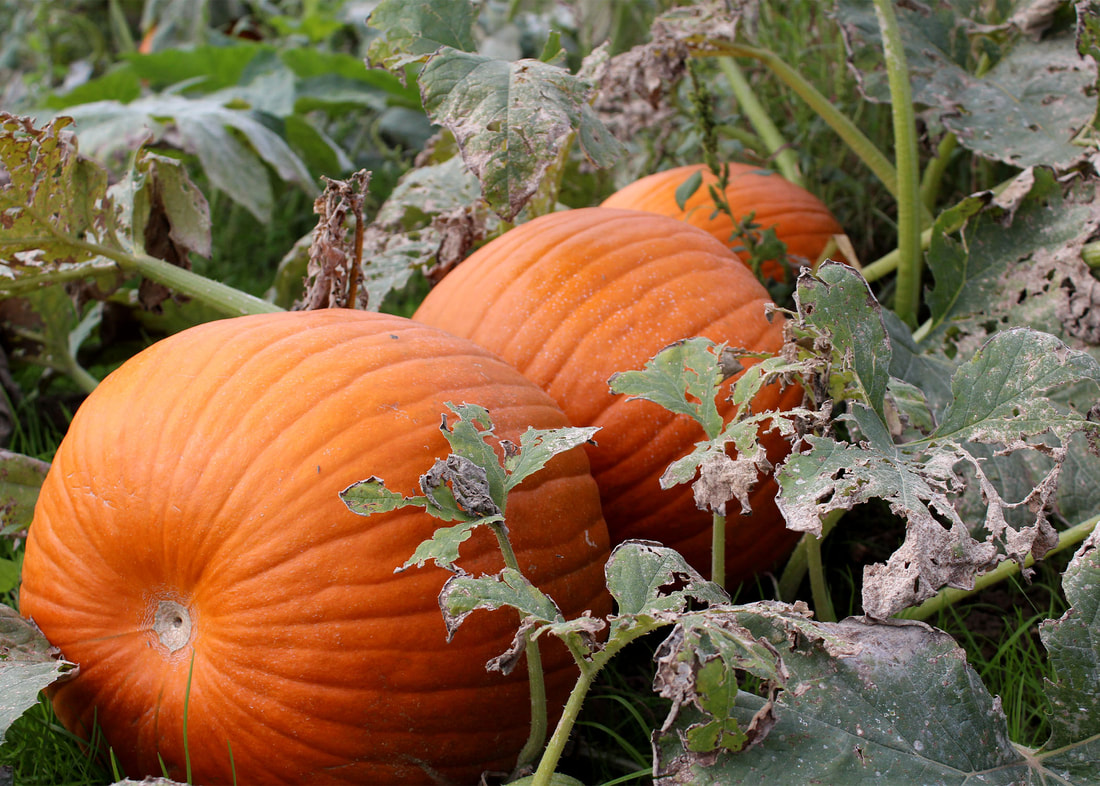
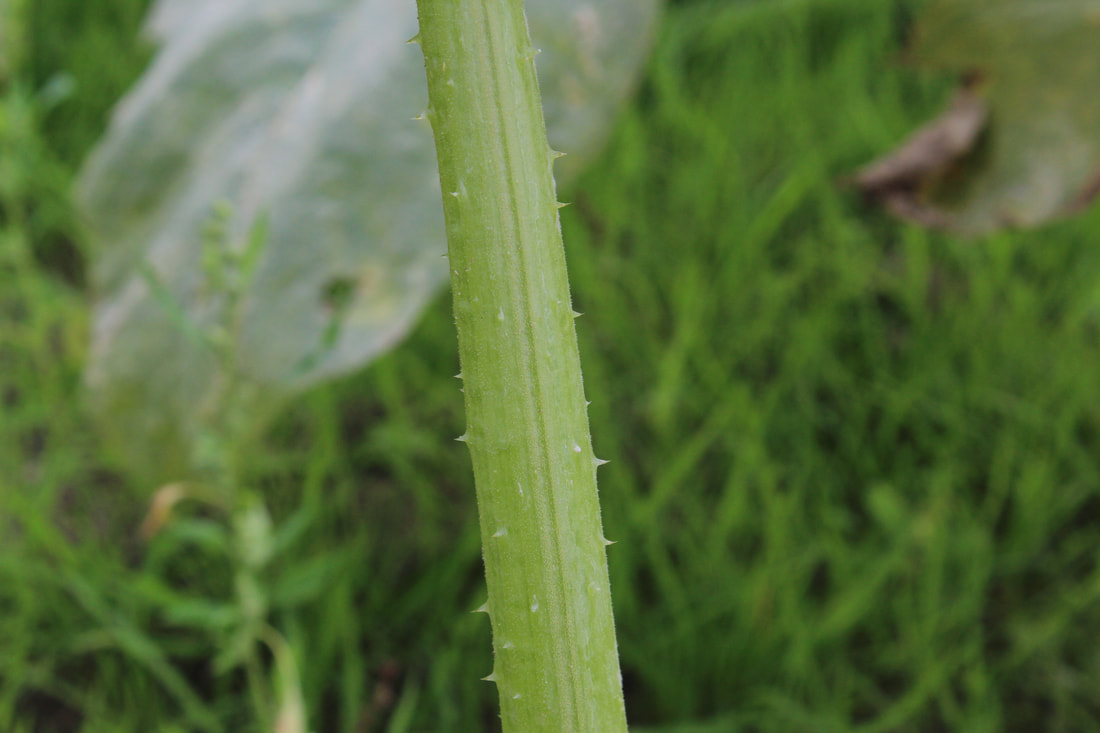
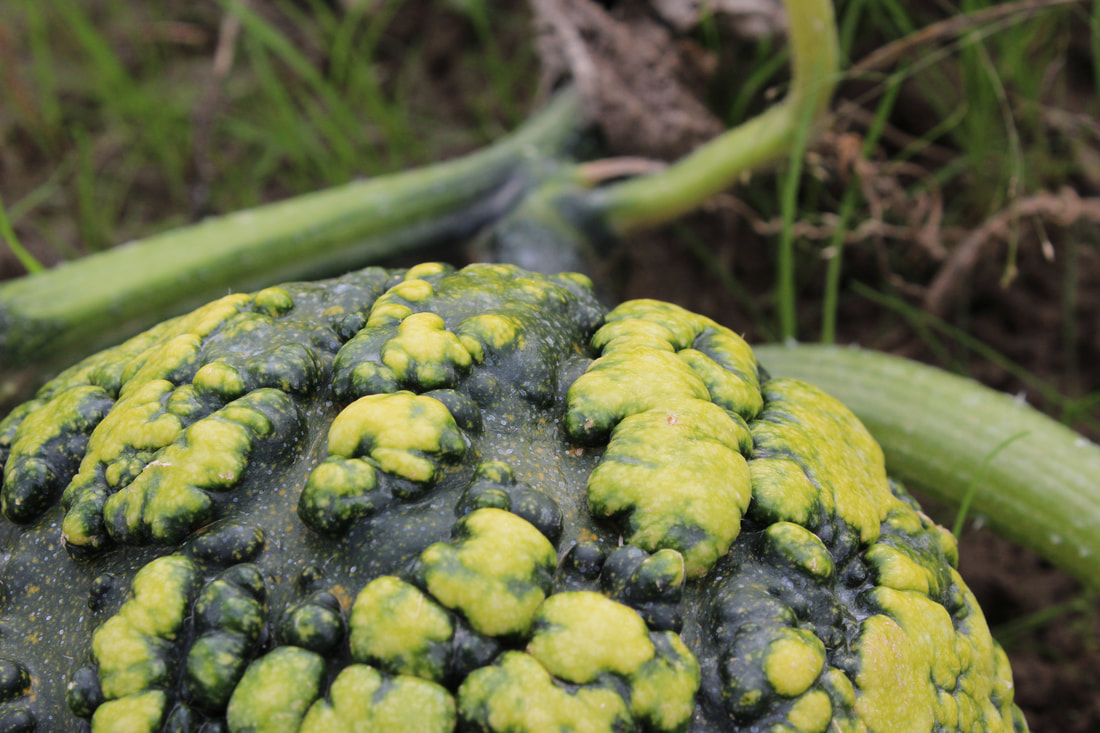
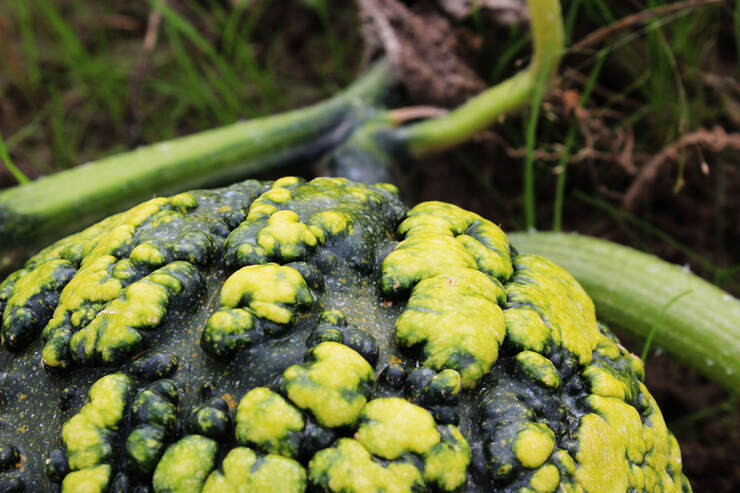
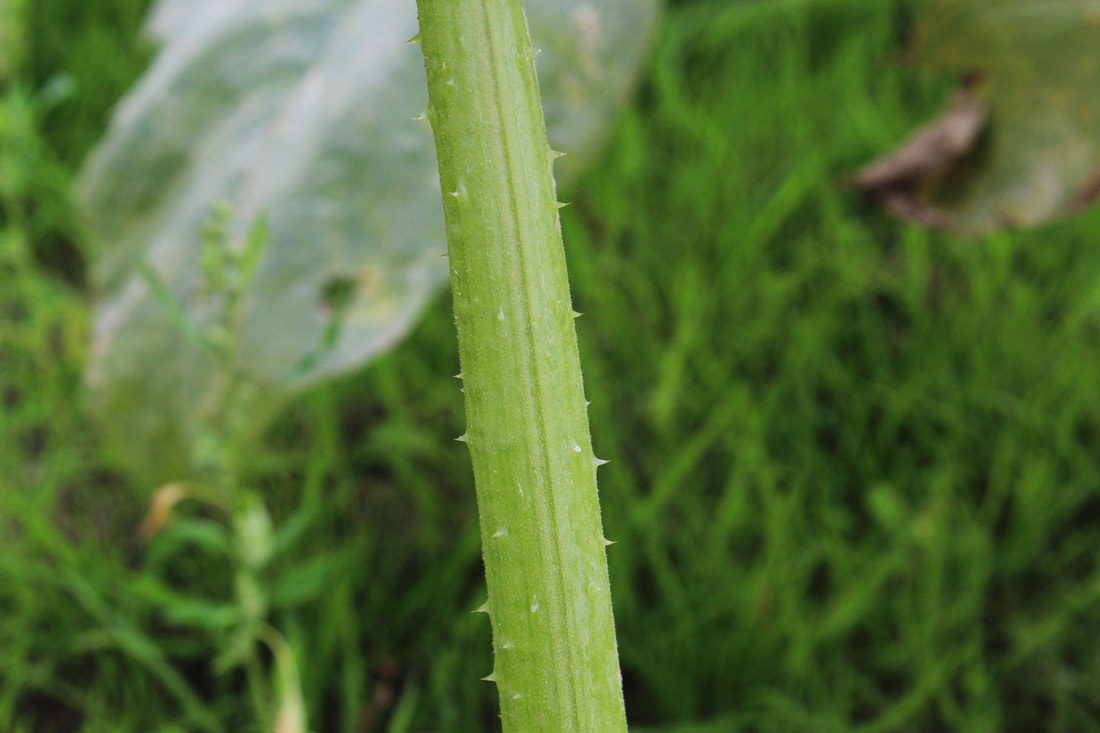
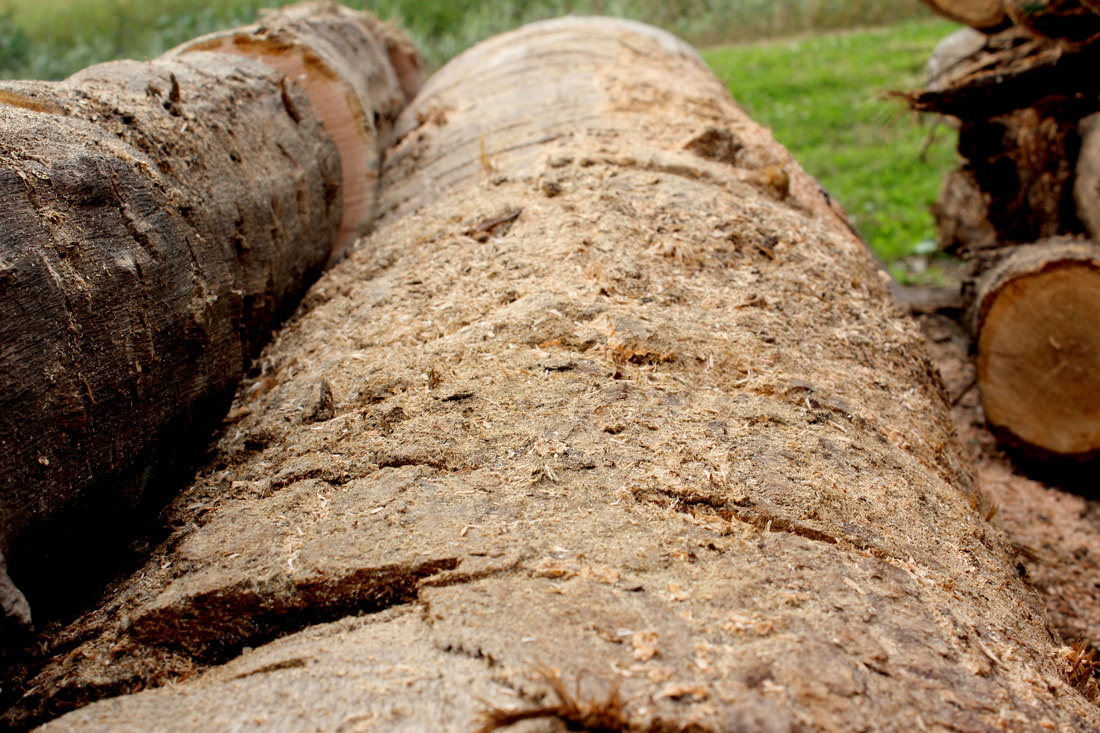
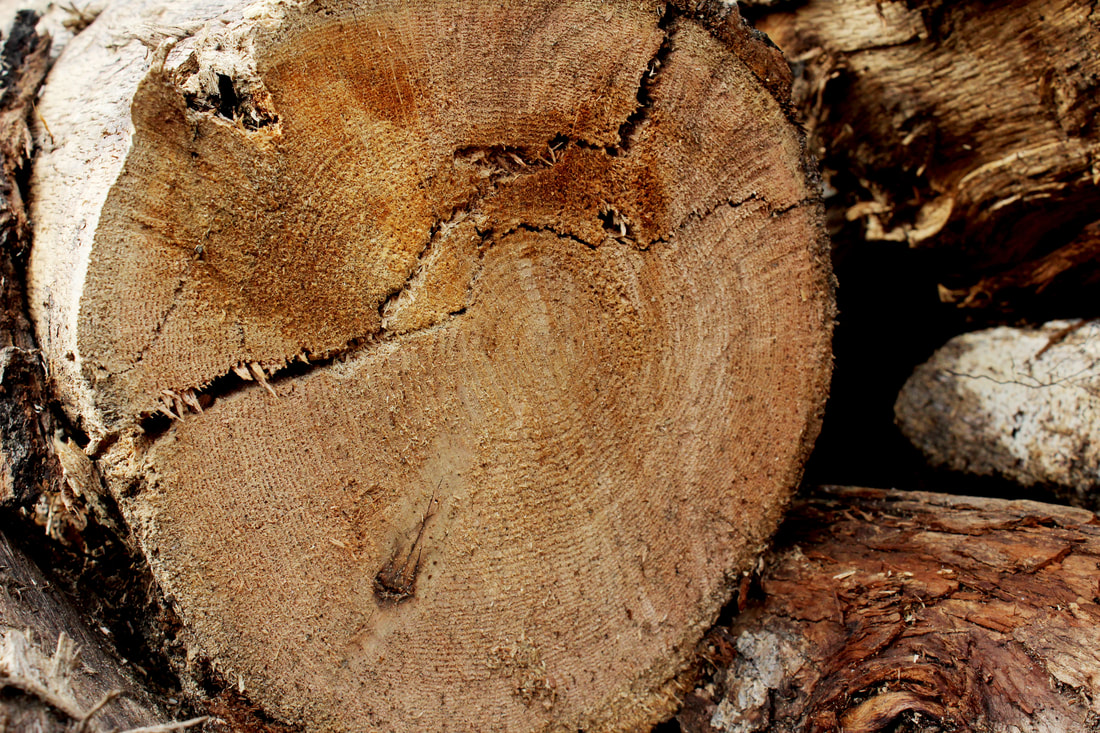
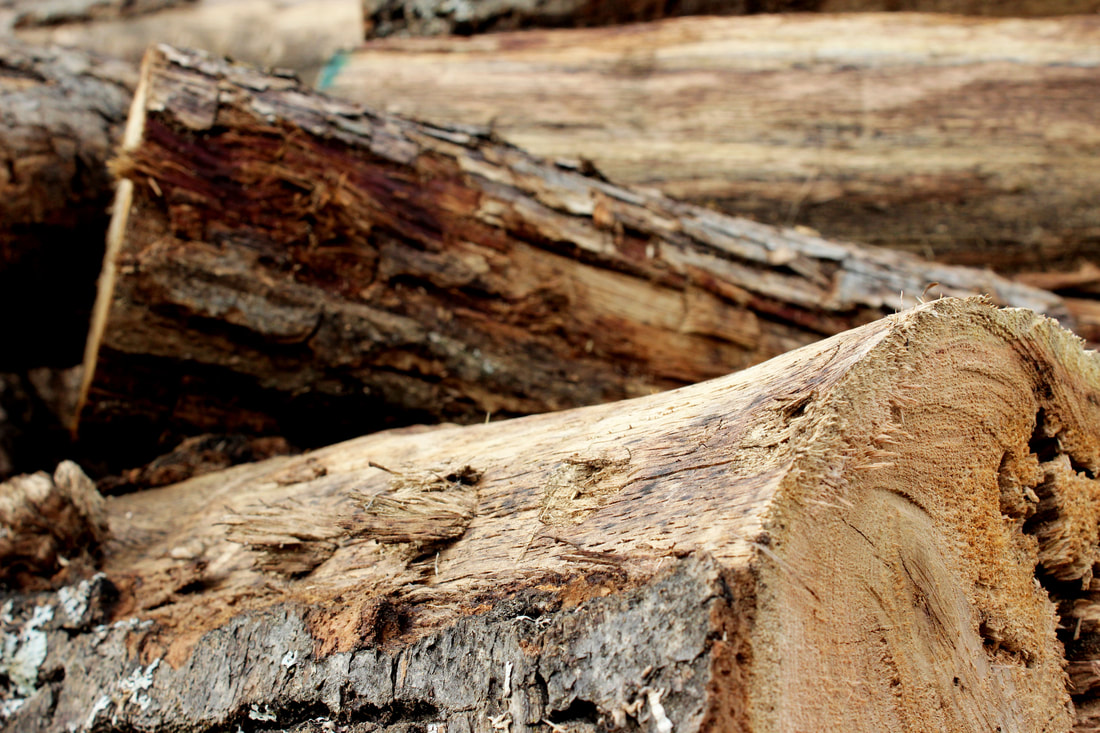
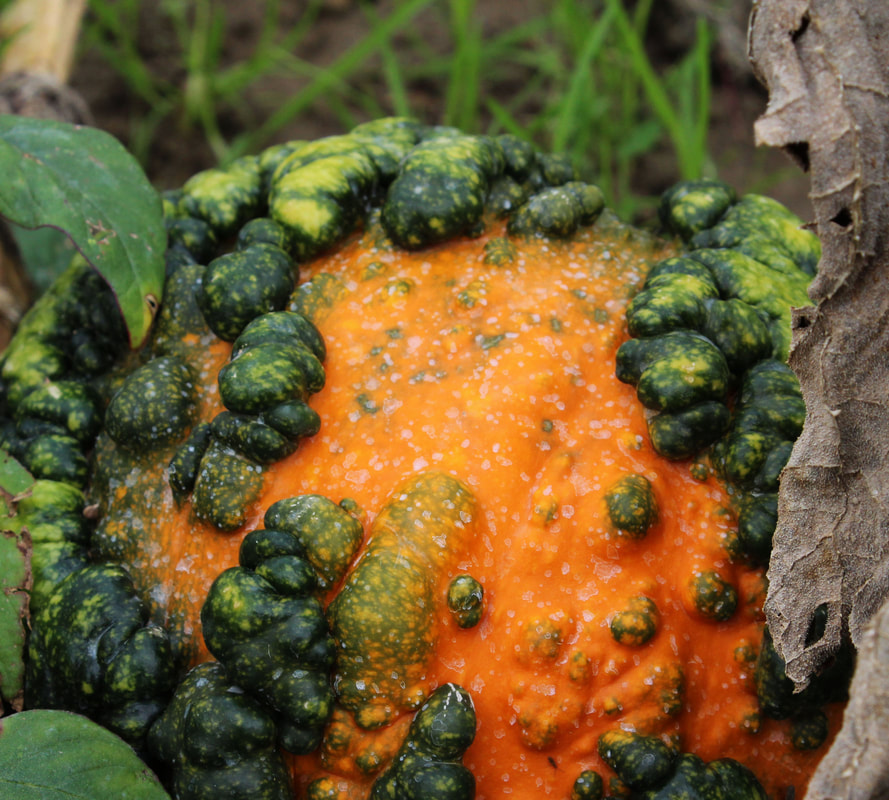
This week I took pictures up close of different objects so you can see the textures that make up the object. I focused on perspective to really bring out some of the cool features of my subjects.
This is the before and after photoshop of my image. I used the levels, contrast, and brightness to bring out the different levels and textures of the pumpkin. I also made the colors more vibrant to give the pumpkin more life. ISO: 400 f/11 1/200 in this assignment I learned how to change my perspective to capture different aspects of my subject. For example, in the pictures above I have a lot of wood but they all capture something different. Some capture saw dust, some capture the different indents or levels of the bark, it all changes based on your perspective. I also learned a lot about levels and brightness when editing these pictures.
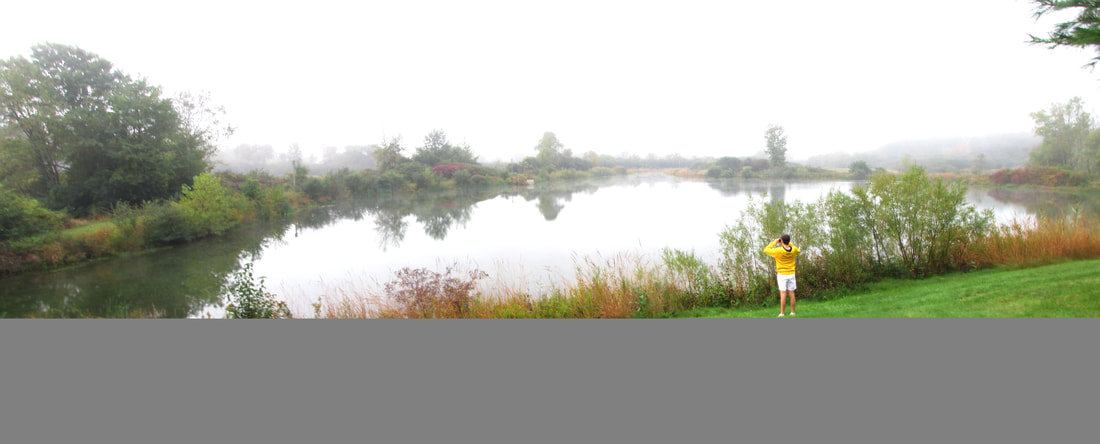
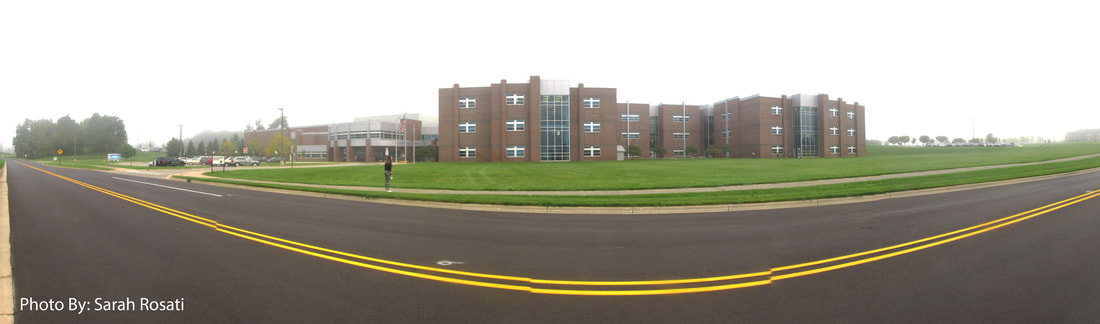
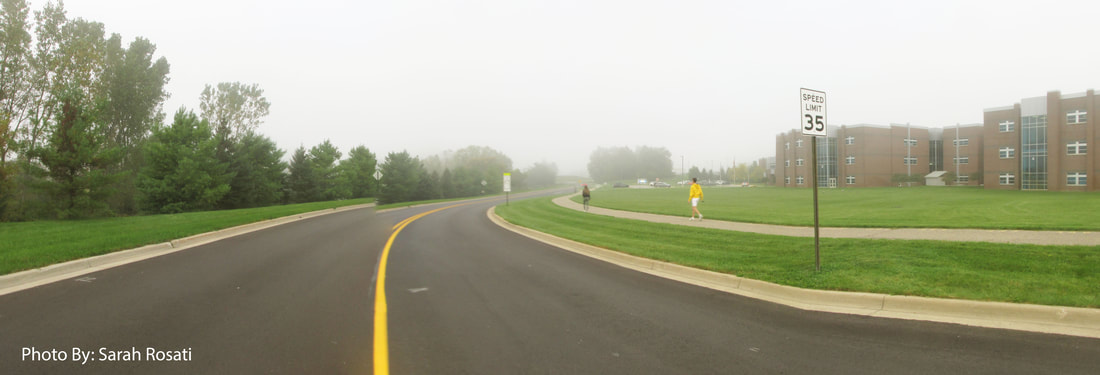
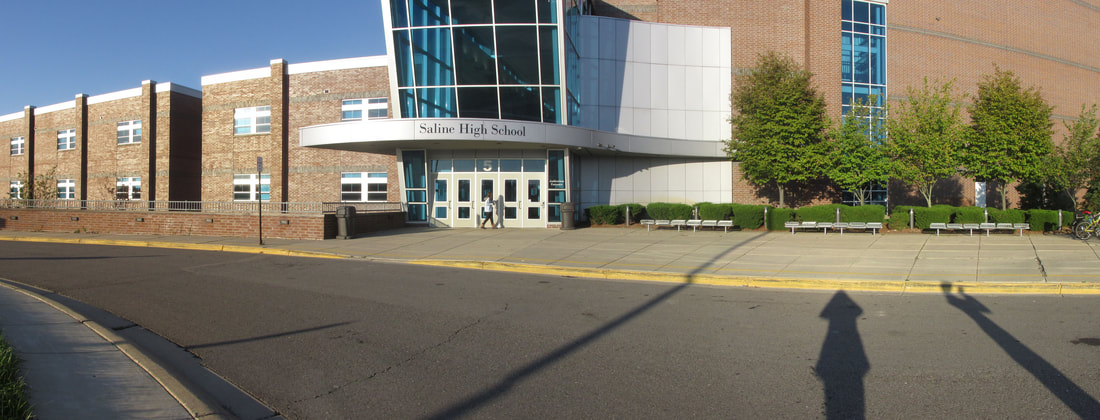
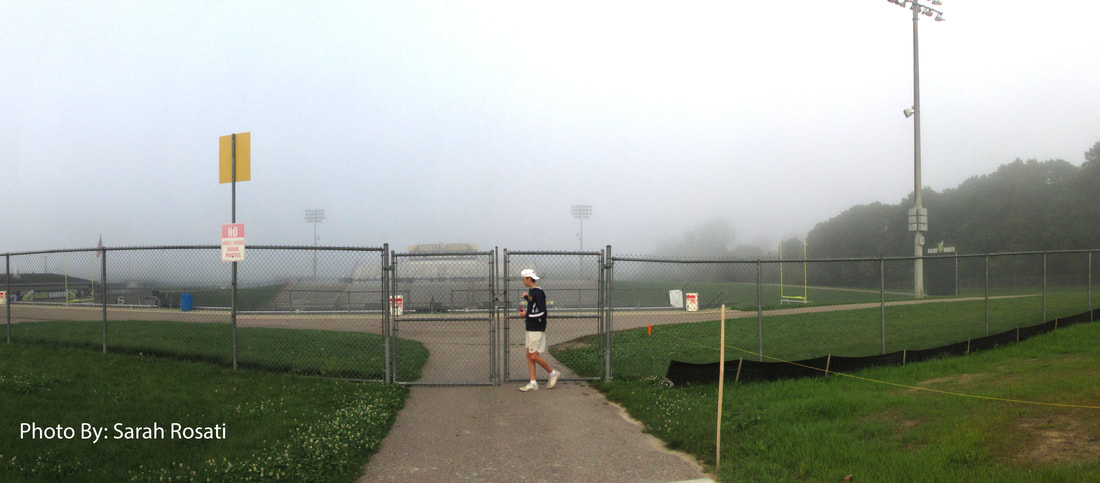
In this assignment we were told to take 5 pictures minimum to merge together to form one big picture, a panoramic. To make sure the pictured merged properly we had to either use a tripod or a steady hand to keep the camera from moving up and down creating a jagged picture. In this assignment I learned how to set up my pictures to make the pano come out looking good. I learned that It is important to pay attention to moving objects and keep your hand very steady. I also learned how to use important tools in photoshop.
|
 RSS Feed
